Friday, January 29, 2021

"Sweet Memories" | Cocoa Vanilla Studio DT

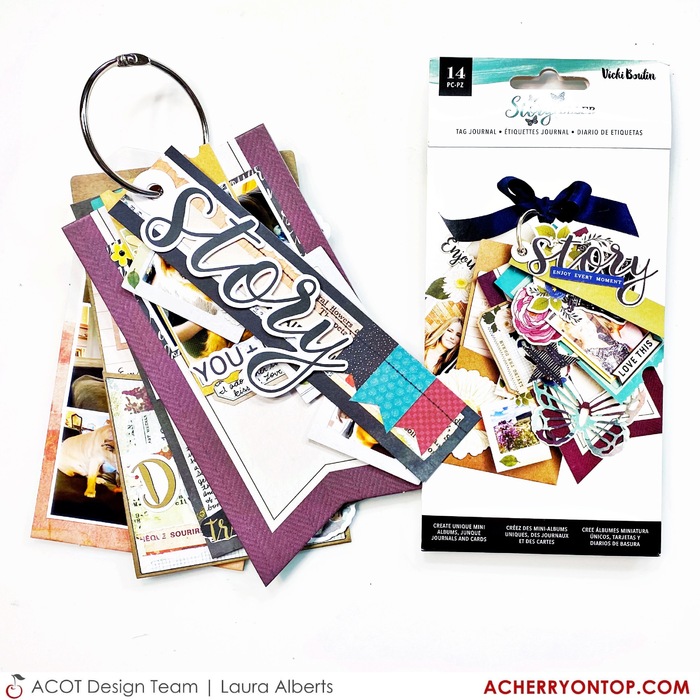
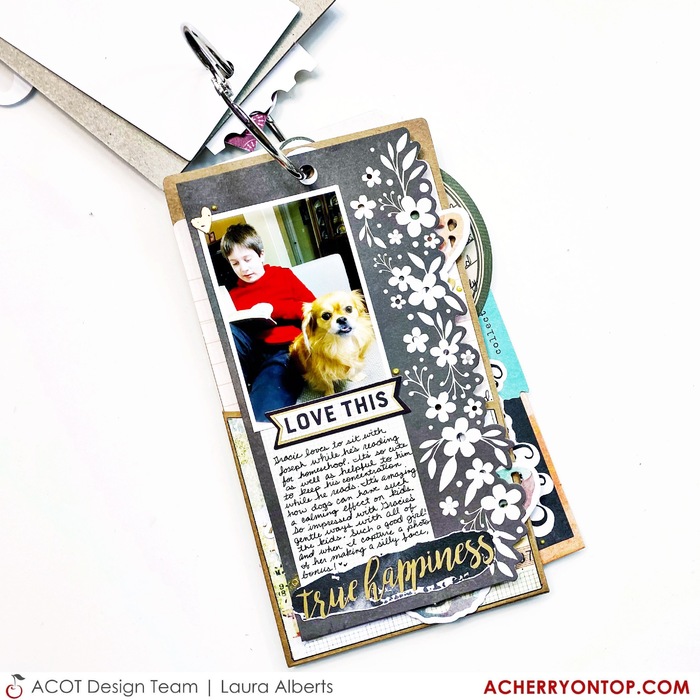
Hey y’all! Laura Alberts back again with a super silly 9×12 layout featuring non-holiday themed photos using the delightfully holiday themed Merry & Bright collection! I particularly adore the florals in this collection and really wanted to make them the shine on this page. With two black and white photos on a wood grain background, using the Season’s Greetings patterned paper, these photos automatically ‘pop’ on this background regardless of how much color I add on.

I clustered together a number of fussy cut florals to create a border along the bottom of the photos, adding in a couple of the puffy stars for a bit of non-paper texture. I loved the gold tones these added to the page and reached into my stash for some large gold sequins to add as well.

For the strands of hearts along the bottom, I drew lines with my white gel pen, then added an assortment of hearts and the outlines of hearts (that I cut from the punch-out packaging!). These outlines are then backed with pocket page cards and paper scraps. The hearts that didn’t have an outline were drawn one with my white gel pen. By alternating between sequins and hearts, with a little bit of Nuvo drops in between, this gives a lovely detail to the bottom of the page as well as tying in the gold from the stars.


I have included a sketch based on this layout to inspire you to give this design a try! I hope the sketch for this layout inspires you and this embellishment style encourages you to look at your collections a little differently! It’s fun to see how you can change things up. If you’d like to see the Sweet Memories layout come together, I have the entire process in the video below!

Thank you for stopping by!


Saturday, January 23, 2021

Vicki Boutin Tag Journal | ACOT DT

Today, we are diving into a fun project using the Vicki Boutin Storyteller Tag Journal and a few of the embellishments from the Storyteller collection, mostly the sticker book, cardstock stickers, and chipboard stickers to add a bit of flair to this gorgeous tag journal! 


The photos I wanted to include in this mini album are of our darling dogs and their silly antics. So, I printed a number of photos in 2x3” size and a couple in a 1.5x2” size using my Canon Selphy. These photos are specifically chosen to tell 4 stories about the dogs. In this first story, Gracie decided to keep my son company while he read his homework book to me out loud. I added the photo to this floral tag, two stickers and a heart for a quick embellishment and my journaling. 


I did add a touch of Nuvo Crystal Drops in gold for light splattering around the tags as I went. In this next story, one of my kids had put a tutu on Emma while she napped and Gracie seemed very concerned to see that! This card came with a library pocket style tag. I added a bit of patterned paper to the front of the pocket as well as two stickers to give it a little bit of fun. Then, on the card inside, I matted my photo with patterned paper, added a couple of stickers and my journaling for a hidden story! 


For the last story, I added 3 photos of Emma with my daughter brushing and hugging on her. This is my favorite tag! It was a chipboard tag, so it could handle a little extra embellishing. I layered a bit of patterned paper behind my photos, an ephemera title on top, then a tab sticker and chipboard arrow.  


I hope this project inspired you to try out this Vicki Boutin Storyteller Tag Journal for yourself and see what stories you can tell! To see this journal come together and a full flip through, please check out the video below! 


Thanks for stopping by!


Sunday, January 17, 2021

Pocket Pages from Scraps and Cut Aparts! | Cocoa Vanilla Studio DT


Hey y’all! Laura Alberts back again with two bright, cheerful pocket pages featuring the stunning Happiness collection. I thought this collection worked beautifully with January’s Mood Board because it had many of the colors as well as a really stunning painted look. To join in on the mood board inspiration, be sure to join us in the Cocoa Vanilla Studio Facebook Group!

One of the many reasons that I adore Cocoa Vanilla Studio’s collections is that they are always super versatile and can be used on a variety of projects. These pocket pages use a lot of the cut aparts from the Little Things patterned paper, ephemera pieces, and scraps! This top left card is layers of scraps with a sticker tag and ephemera journaling spot.

For the title card, I fussy cut the wreath from the ephemera pack and layered the flower pot and some hearts and florals together. My favorite part of this card is the clear sticker paint swatch, it adds a little idea of depth because it’s layered behind the flower pot. A little bit of Nuvo drops finishes it off with the detailing that really makes it feel finished. On the card below the title, I added tiny, fussy cut florals to the heart cut apart pieces and a word phrase to personalize it!

On this bottom card, I created a 4×6 card from paper scraps and then layered the green paper as a mat under my photo. Two hearts tucked in together below a word phrase sticker with tiny, fussy cut florals for added detail. The butterfly is fussy cut from the Bright & Beautiful patterned paper in the 6×8 paper pad.

For the title card on the second page, I used clear stickers for the paint stripes and title with a few fussy cut florals and butterflies for a whimsical touch. I added little dots of Nuvo drops to create butterfly trails.

I kept the embellishing fairly simple on my photos so as not to draw attention away from them. This pocket page had a common theme of how snuggly my twins had become and featured so many sweet photos of them cuddled up with me and their siblings.

This bottom card is my favorite from the whole page! I used clear stickers, backed with white cardstock, to cluster behind the photo of my oldest and youngest girls. Layering a couple of cut aparts on the right side to add some journaling.  I really enjoy how beautifully the patterned papers work for creating 3×4 and 4×6 cards for pocket pages!


I hope these pocket pages inspire you to look at your pattern papers a little differently! It’s fun to see how you can change things up and use scrapbooking collections for pocket pages or a variety of other projects.

Thanks for stopping by!


Sunday, January 3, 2021

How to Build a Scrapbooking Stash Kit!


2021 is the year for using our stash, I can feel it! Super excited to start a new series focusing on putting together kits with a variety of inspiration. I think the main reason I get bored with stash kits is because they all end up feeling largely the same. This year, my plan is to use this list below to inspire a better variety of kits!

Inspirational Ideas:

1. Multi-colored patterned paper

2. A partial collection or kit

3. A fixed color scheme (your faves or wedding colors, maybe?)

4. Mood board

5. Embellishment pack

6. One Designer - several collections

7. Scraps!

8. A 6x6 or 6x8 paper pad

9. Theme (birthdays, seasons, holidays, etc)

10. Group of photos (vacation, event, etc)

11. Book or magazine

12. Home Decor (fave pillow or centerpiece?)

13. Digital Collection/Printables.

14. A feeling (cozy, energetic, etc)

15. Location (a memory of that place)

16. Packaging (from supplies or a snack?)

17. Artwork

18. Mixed Media Palette


Now that I have a plethora of inspiration, I needed a plan! So, I created a list of what I wanted to include in my kits to give myself a little guidance. This helps me to reign in the desire to add ALL THE THINGS and stick to what will actually help me create!

My Plan:

Include 10-12 papers and a 6x6 or 6x8 paper pad

-At least 4 papers that work for backgrounds

-1 specialty paper (acetate, vellum, etc)

-1 cut apart paper

-1-2 patterned papers to fussy cut

-A mix of pattern sizes and types (small/large prints, florals, geometrics, text, etc)

-About 10-15 Project Life cards (optional)


Include a variety of embellishments

-Layering pieces (doilies, tags, etc) and ephemera pack

-Textures: trim, flair, wood veneer, washi, etc.

-2 sticker sheets & scattering bits

-Titles: Thickers with words & 2 alphas (1-big, 1-small)


Include tools and/or mixed media (optional)

-A new tool or one you want to use more (sewing machine, etc)

-Mixed media (paints, modeling paste, etc)

-Stamps/Stencils


Now that I have my inspiration list and my plan, I can start creating kits! I will be creating a new kit each month using a different source of inspiration and a different mix of papers/embellishments, then using it up that month! Follow along on my Youtube channel to see this plan in action!


Thanks for stopping by!