Monday, December 28, 2020

Joy | Merry & Bright Collection | Cocoa Vanilla Studio DT


Hey y’all! Laura Alberts here with a 9×12 layout featuring the gorgeous Merry & Bright collection! Using mostly paper for this one for an extra challenge! I wanted to let this sweet photo stand out on this layout, so I kept my design simple and embellishing light. Using the floral swag from the opposite side of this Happy Holidays patterned paper tucked behind my photo with three paper strips behind it as a base.

I layered a few smaller florals that I fussy cut from the Joy to the World patterned paper on top of the large swag as well as tiny florals that are sprinkled around the edge of the cluster. I also added dots of Nuvo Drops in gold for a soft dimensional detail and gold ink splatter as a finishing touch.

I fussy cut this “Joy” title from the Season’s Greetings patterned paper and then popped it up on foam to give it a little interest and dimension on the otherwise flat layout. This helps to keep the attention on the photo by overlapping the edge of it slightly. I have included a sketch based on this layout to inspire you to give this design a try!

I hope the sketch for this layout inspires you and this embellishment style encourages you to look at your pattern papers a little differently! It’s fun to see how you can change things up. If you’d like to see the Joy layout come together, I have the entire process in the video below!


Thanks for stopping by!


Monday, December 21, 2020

Quick & Easy DIY Gift Card Holders | ACOT DT

Welcome back to the Cherry Blog! Today, we are preparing for holiday gift giving with these super quick and easy Gift Card Holders using papers and embellishments from Pinkfresh Studio’s Oh What Fun collection. These are great for personalizing your holiday gifts! 


I began with a 6”x12” piece of patterned paper and creased it at 4” from one end and 3” from the other end. This creates folds for the cover of the holder, the top half should overlap the bottom for the closure. 


I then added a cut-apart pieces layered together for the closure, taping the top 2/3 of the closure to the larger folded piece, then added a velcro dot on the bottom 1/3 of the closure. To make sure the two pieces of the velcro line up, attach them together to the closure and then close the holder. That will place the other velcro dot exactly where it needs to be.  


I added a puffy title for each of them on the lower flap (make sure to close it up to check that the title doesn’t peek out from under the top flap when closed). Inside, I added a 1 ½” x 4” paper taped on three sides (both sides and bottom) so that the gift card can slide into the top. A small sticker or ephemera piece on top adds the simplest finishing touch!


I hope these Gift Card Holders inspire you to look at your own supplies a bit differently and try personalizing your gift giving as well.  To see this project come together, check out the process video below! 


Thanks for stopping by!


Thursday, December 17, 2020

Memories | Merry & Bright Collection | Cocoa Vanilla Studio DT


Hey y’all! Laura Alberts here with a fun Christmas layout featuring the stunning Merry & Bright collection! I have been dying to use this Countdown paper as a background since I first saw it, such a fun idea for a patterned paper! I layered several papers over the center squares to give it the look of grid layout, then added my photos and as many florals as I could fit! Clustering florals can be tricky, but I find if you start with larger florals first, then nestle in the smaller ones, it’s a much easier process.

In order to blend in the fact that I’d covered the numbers in the center, I used the cut apart page from the A5 paper stack to cover three additional numbers. This way the gap looks intentional and draws less attention. Another quick tip is to add small embellishments to the existing squares, like this little “Oh What Fun” banner onto day 22.

To finish off this layout, I added tiny florals around the cluster as well as Nuvo drops in gold for a controlled splatter effect. I also added two flair badges to break up the array of florals and give them a little bit of interest. This ends up being my favorite addition to the page in the end!

I hope the design of this layout inspires you to look at your photo placement a little differently! It’s fun to see how you can change things up with a patterned paper background. If you’d like to see the Memories layout come together, I have the entire process in the video below!

Thanks for stopping by!


Wednesday, December 2, 2020

December ACOT Blog Hop

Hey y’all! Welcome to the December ACOT Blog Hop! Today, we design team members are using this fantastic mood board to create a project. We each interpreted it in a different way, so be sure to hop along to all of the blogs!

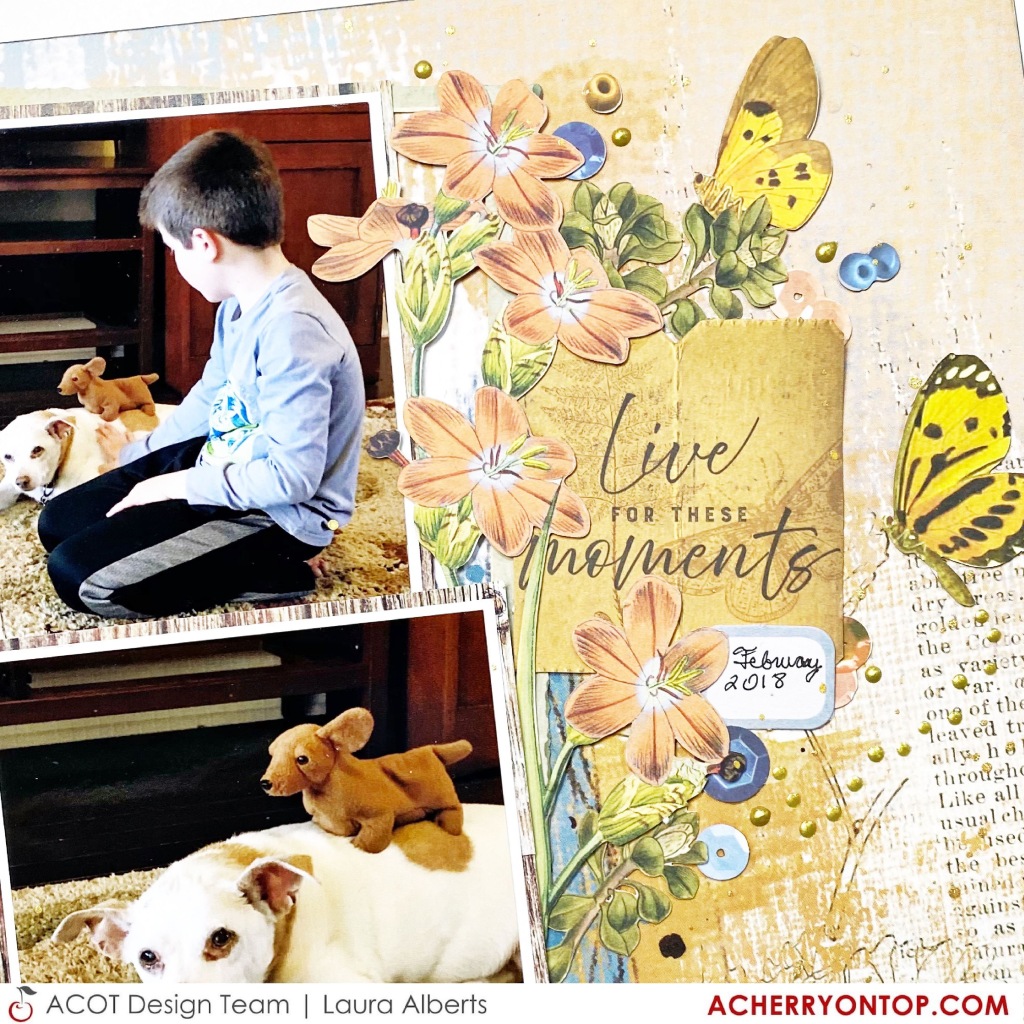
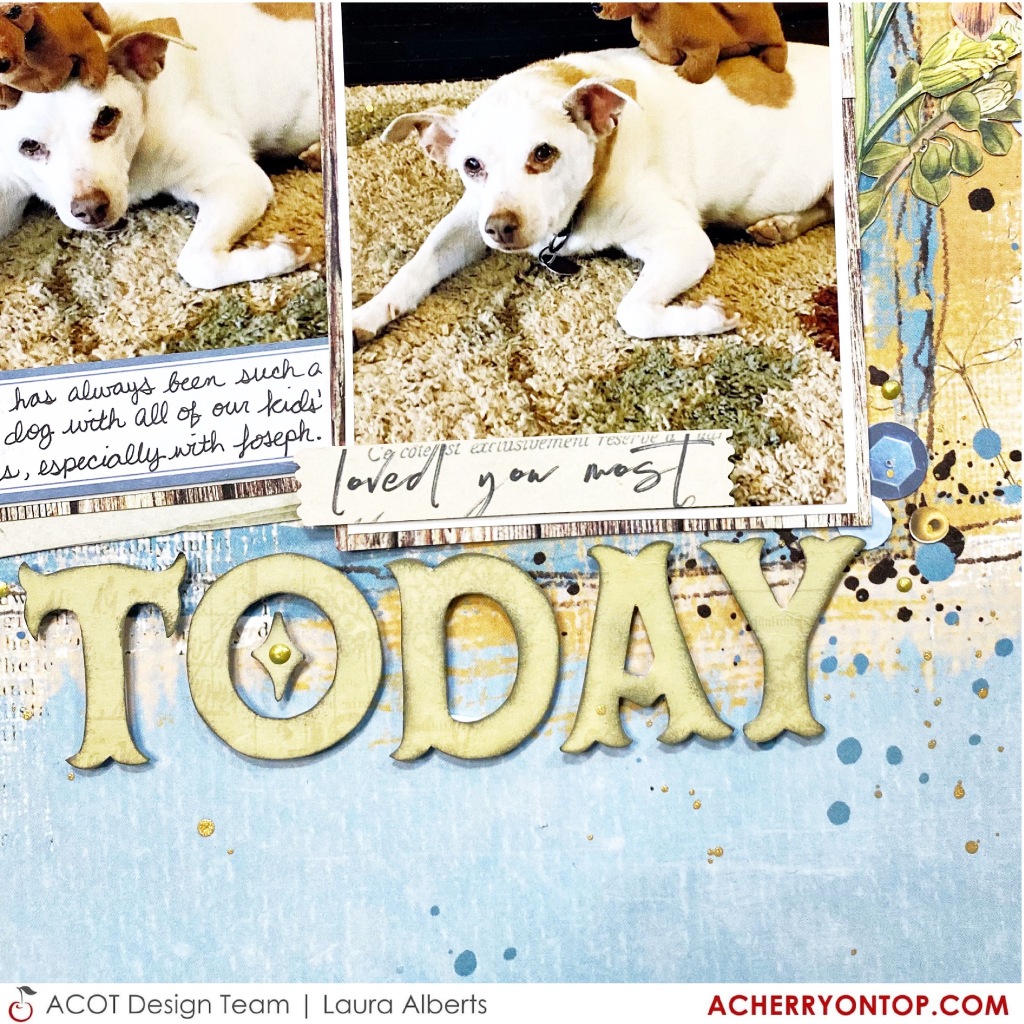
Now, I don’t have many winter or “snow” themed photos because I live in a warm climate, so I knew I’d have to get really creative here! I decided to pull in the following details from these photos: dogs, wood grain, vintage feel, nature, and a mix of warm/cool colors. So, here’s my finished layout: 

Obviously, I took great liberties with the color scheme, but I think it has a similar feel to the mood board overall. I used the lovely Wedgewood collection from 49th and Market to scrap these three sweet photos of my dog, Stryder, with his favorite toy. 

This cluster to the right of the photos is the largest and most detailed, it’s position helps to balance the stack of photos on the right. Whereas, the cluster on the left is smaller and less detailed to nestle in to the smaller photo. 

I’ve matted the photos with wood grain paper and inked my title to create the impression of dimension on this layout. Adding in the paper sequins that came from the 49th and Market collection was a lovely detail to finish it! 

Hop on over to Erica Rose next and then the A Cherry on Top Blog for a chance to enter for a giveaway! If you’d like to see this layout come together, check out my process video below:                                

Thanks for stopping by!