Thursday, October 29, 2020

Masking with Gloss Gel Medium | ACOT DT

 *Originally written for A Cherry on Top Crafts*

Welcome back! Today, we are trying out a new technique with ink sprays and mists! You may have seen how stamped embossing can mask a design, but have you tried masking with gloss gel medium? It’s just as easy with less mess!  

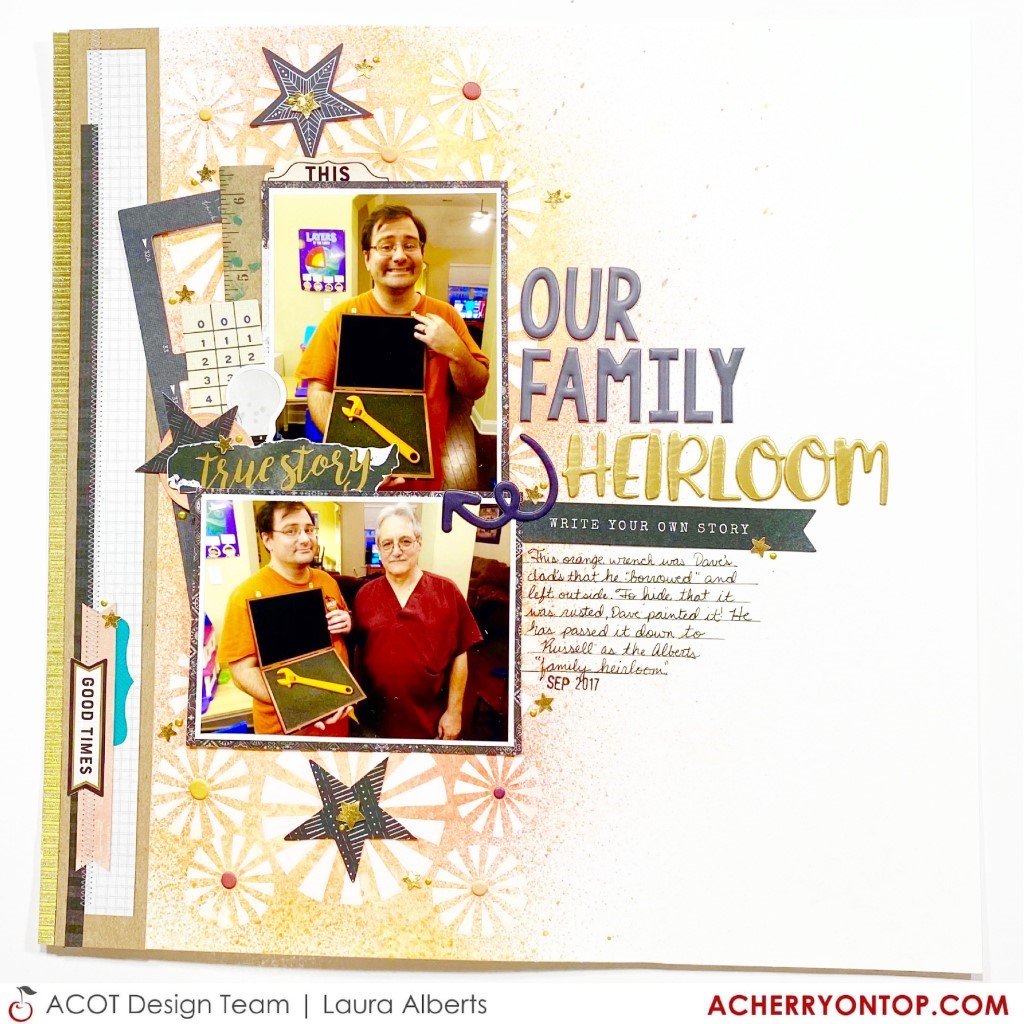
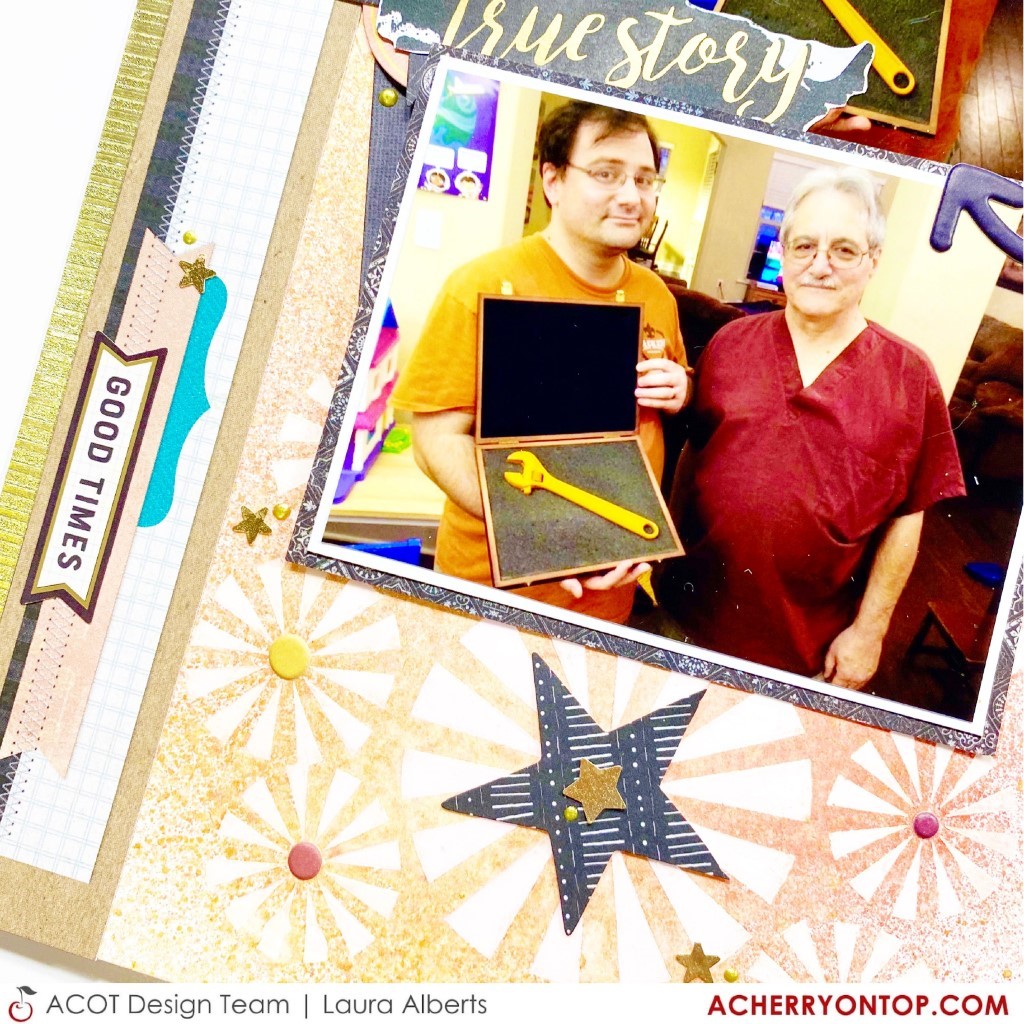
First, I used a spatula to smooth Art Basics Gloss Gel Medium through a Vicki Boutin stencil. Once it dried, I sprayed over the top with combination of red, orange, and gold ink sprays. After waiting a few minutes, I rolled a paper towel over the top to soak up the spray and it left a fun design behind!  

If you want a super clear stenciled image, take a baby wipe and gently go over each of the gel medium design pieces and any remaining spray will wipe right off! Once it was dry, I layered several cut apart pieces and die cuts from the Vicki Boutin Storyteller collection. 

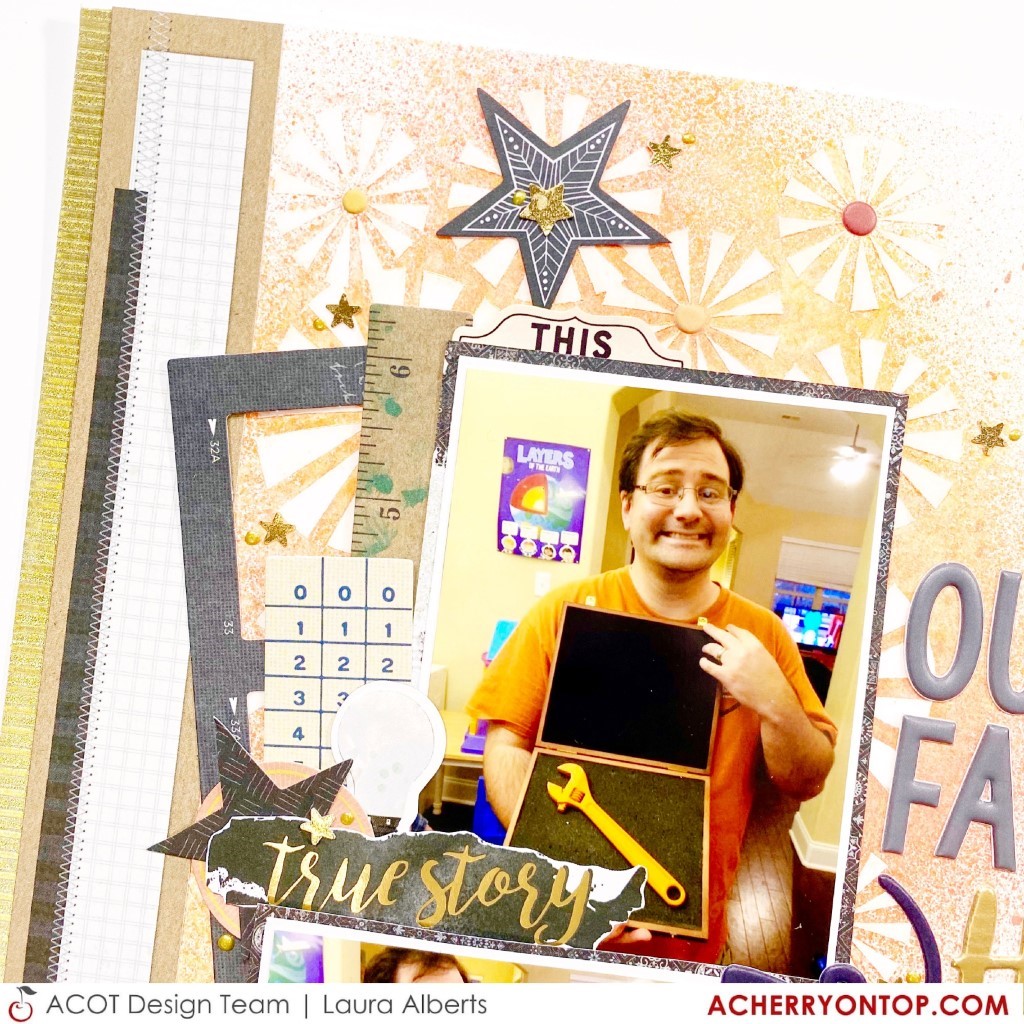
I had two photos, so stacking them on top of each other left a space open on the left-hand side that was perfect for a cluster of random ephemera pieces. Using the long, linear pieces at the back created a base for smaller embellishments on top. 

I kept the title pretty simple, using alphas from my stash. By separating the title from the journaling with the flag, it allowed the entire title and journaling to nestle right in with my photos. To finish it off, I added some circles from the puffy Storyteller Thickers in the centers of the stenciled shapes. 

I hope this masking technique inspires you to give this project a try too! You can use any sort of water soluble mixed media to add color over the top! To see this project come together, check out the process video below! 

Thanks for stopping by!


Wednesday, October 28, 2020

"Sweet" | Daydream Collection | Cocoa Vanilla Studio DT

 *Originally written for the Cocoa Vanilla Studio’s Blog*

Hey y’all! Laura Alberts here today to share a darling 9×12 layout with you today that will truly pull at your heartstrings. My little girl doesn’t fall asleep in my arms anymore, but I surely cherish the many times that she did! This layout features a color and black and white version of this photo to really emphasize the moment. The soft colors of the Daydream collection were perfect for this layout! I used the Sun Shower patterned paper as a background and then used the leftover pieces to make an arrow behind each of the photos. This detail draws your eye from left to right, then right to left through the photos.

On either side of my photos I layered clusters of fussy cut florals, puffy hearts, rosettes, and rainbows. By using a variety of embellishment sizes, the clusters are dynamic and the layers create depth. Also, I add tiny details around each clusters with small hearts, Nuvo Drops, and gold ink splatter to finish them off. I loved the idea of these pillow-like puffy hearts on such a sweet, sleepy layout.

I love these titles included in the Daydream collection, they make it so easy to add a title! This tiny cluster in front of the title helped to tie it in with the other two clusters. I even used the collection title from the manufacturing strip and tucked it into one of the clusters because it perfectly matched these photos.

I hope the varied clusters on this layout inspires you to look at your embellishments a little differently! It’s fun to see how you can change things up. If you’d like to see the Sweet layout come together, I have the entire process in the video below!


Thanks for stopping by!


Saturday, October 17, 2020

"Good Times" | Daydream Collection | Cocoa Vanilla Studio DT

 *Originally written for Cocoa Vanilla Studio’s blog*

Hey y’all! Laura here again with a sleepy puppy layout using the aptly named Daydream collection! I went for a modified grid this time and used as many of the bits and pieces as I could on this one. I love the way it feels both full and balanced at the same time. I did a little bit of layering at the top and bottom of the grid to give it the appearance of depth, but those flair did the job for me! I love adding chunky pieces like flair and foam on my layouts, so when I decide to do a chunky layout, I go all out!

There’s also a bit of hidden journaling in this pocket on the right side of the layout to document our old dog’s decline at the time. I didn’t want to add that part of the story to the front of the layout, so by adding this little pocket, I can document his journey without making it the focus of the layout. I really wanted this layout to showcase his incredible talent of falling asleep anywhere, anytime.

These rainbows were one of my favorite parts of this collection, so I fussy cut a whole page of them to use as embellishments and they are slowly showing up on every one of my pages! I even found ways to tuck in sequins around my clusters to add a little bit of bling and really make this layout shine!

I hope the modified grid on this layout inspires you to look at your embellishments a little differently! It’s fun to see how you can change things up. If you’d like to see the Good Times layout come together, I have the entire process in the video below!


Thanks for stopping by!


Thursday, October 1, 2020

October 2020 ACOT Hop


As we head into the Halloween season, myself and my fellow ACOT Design Team members agreed that Pumpkins were the perfect theme for this month’s hop! I decided to take a very non-Halloween themed collection and make it work for a 4×6 picture of these jack o’lanterns that my kids designed! Believe it or not, I used the new Pinkfresh Studio Celebrate collection for this one!

Using a patterned paper background with a mixed media style circle already painted on and building a crescent shaped floral wreath that wraps around the left-hand side of the circle. This floral wreath creates a design feature that draws the eye into my photo without filling the entire page. I added a few bits of wood veneer that I painted with a gold paint pen into the wreath as well as a few stray green ephemera pieces from my stash.

To finish off this wreath, I dug into my fall stash and found some Prima puffy stickers from an older Amber Moon collection and placed them around the photo, along with a few enamel hearts and several dots of Nuvo Crystal Drops. A little gold ink splatter and this one was done! I love the way this turned out and I think it was a fun little challenge to scrap very themed photos with a non-themed collection!

If you’d like to see this layout come together, check out the process video below:

Thanks for stopping by!